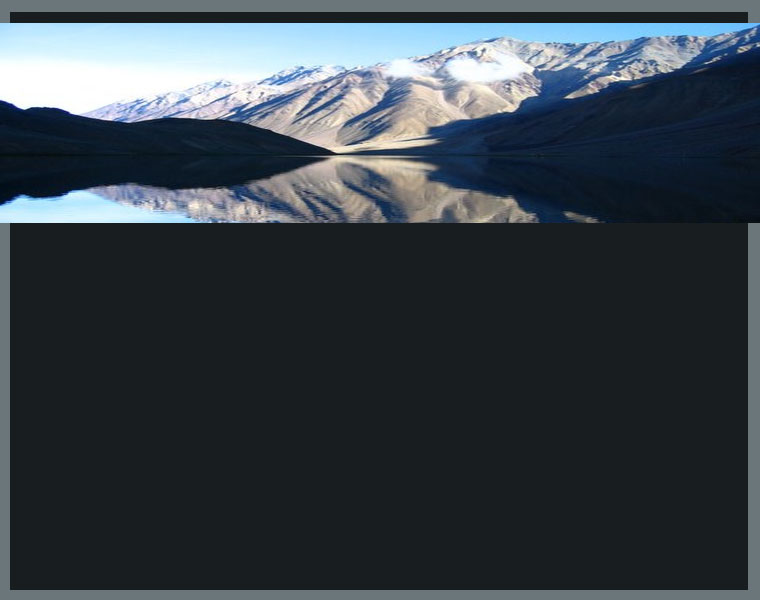
A Modern Portfolio Layout in Photoshop Step#1: Open a new document in Photoshop using CTRL+N.
Instead of a preset size choose 760x600 pixels on a white background.
I have taken faded blue background # 6B767A. Now pick the Rectangular
Marquee
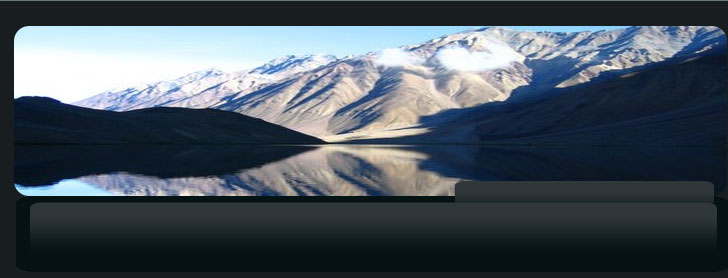
Step#2: Now you will need to add an image to the header. I have used this image. Resize the image using Image>Image Size. The image should be resized to 770x568 pixels.
Step#3: Now use the Rectangular Marquee to select a portion of the image. Copy (CTRL+C) and Paste (CTRL+V) on the top portion of the layout
Step#4: Choose the rounded rectangle tool
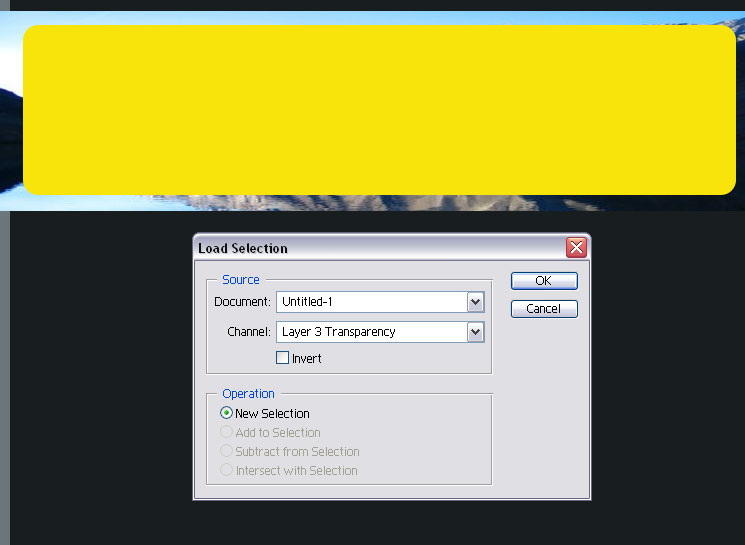
Step#5: Change the foreground color to # F8E40B (yellow). Use the rounded rectangle on the header image to create a rectangle. Use select > load selection > OK
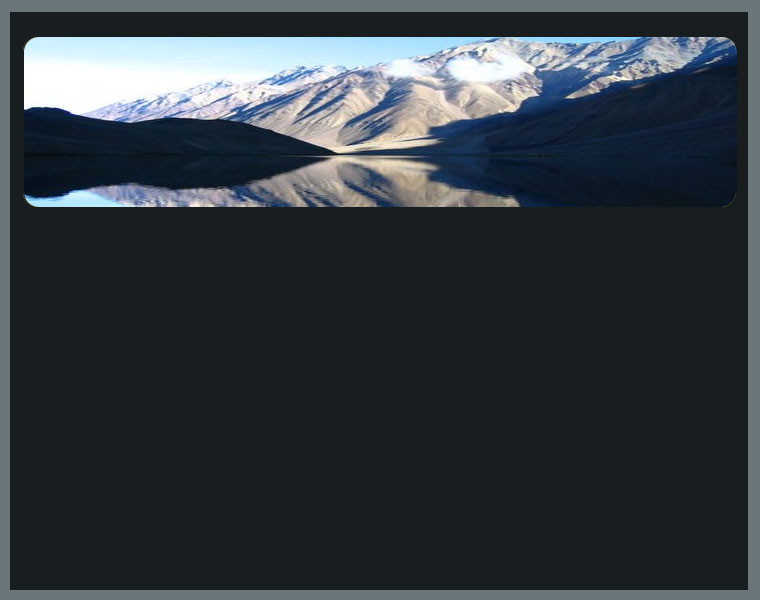
Step#6: Now delete the Yellow layer. Use the selection to cut the picture to give it rounded edges.
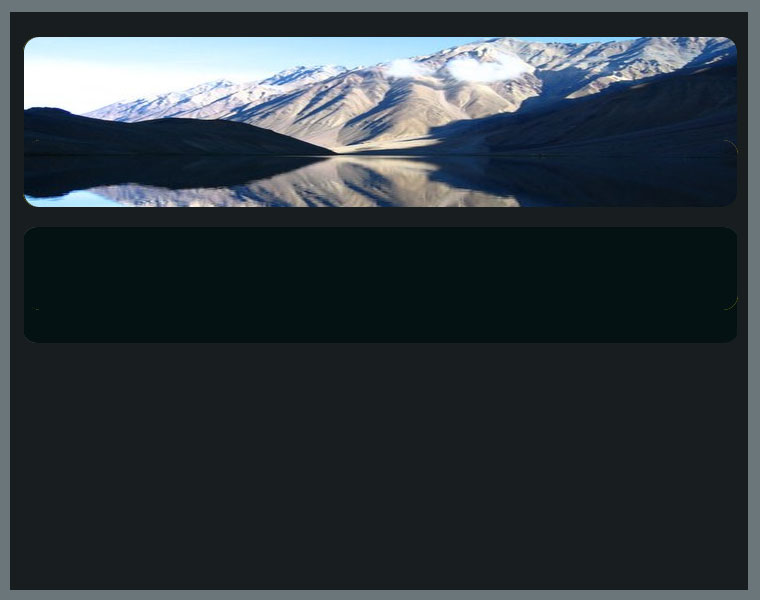
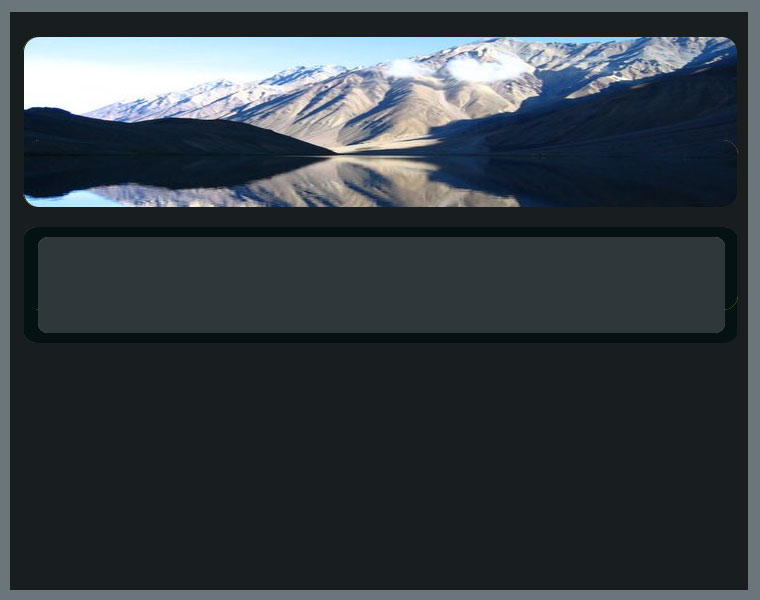
Step#7: Select the Rounded rectangle tool and take a rectangle radius of 10 pixels. Change the foreground color to #041213 (dark gray). Draw a rectangle of the same length as the header just below the header image.
Step#8: Change the foreground color to # 2F3739 (light gray). Keeping the rectangle radius same, make a smaller rectangle on top of the previous rectangle. Now Rasterize the layer. Layer>Rasterize
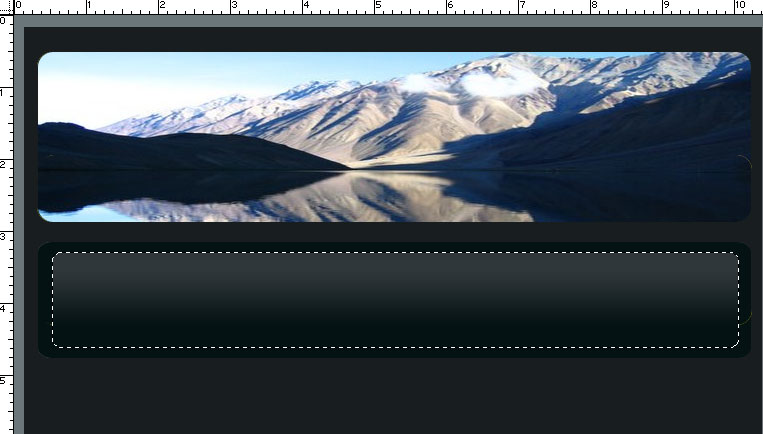
Step#9: Now ensure that your foreground color is #
2F3739 (light gray) and background color is #041213 (dark gray). Select
the Gradient Tool
Step#10: Duplicate the Gradient layer using CTRL+J and move it to the right like this:
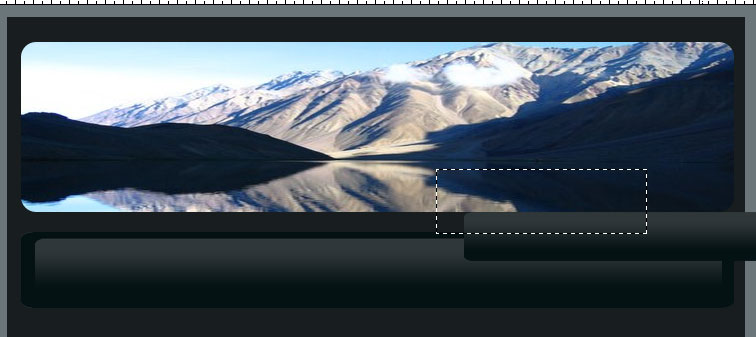
Step#11: Now select a part of the layer as shown below and cut it. Copy it to a new layer.
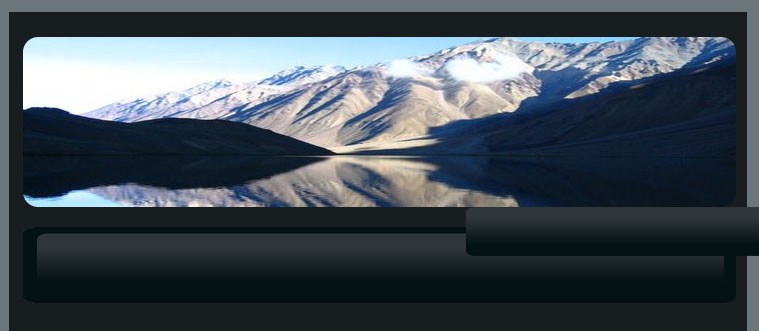
Step#12: Make a copy of the new layer. Go to Edit>Transform>Flip Horizontal the copy. Bring it down and merge with the previous layer to make it look like a single layer. It should look like this:
Step#13: Now we need to create a faded square on the top header. I have taken two colors # 44B8D7 and # A5DCEC. Make opacity = 30%. Copy to create several squares and place them in such a way that it creates an abstract design. This is what I did:
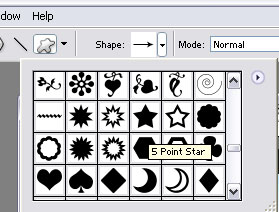
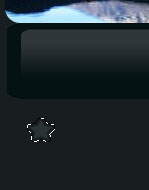
Now merge all the square layers into a single layer using CTRL+E Step#14: Now select the custom shapes tool Step#15: Choose color # 2A3335 for creating the star. Now got to selection>load selection. Once that’s done, go to selection>modify>expand. It will look like this:
Step#15: Choose color # 2A3335 for creating the star. Now got to selection>load selection. Once that’s done, go to selection>modify>expand. It will look like this:
Step#16: Now form a new layer below it and fill it with color # 8A8B8D. It will look like this:
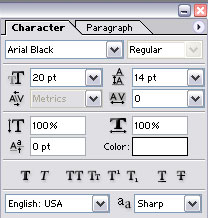
Step#17: Now create heading text as follows:
Step#18: Now go to select > Load selection and then select > modify> expand by 3 pixels. Open a new layer below it and fill it with color # 4C6775. It will look like this:
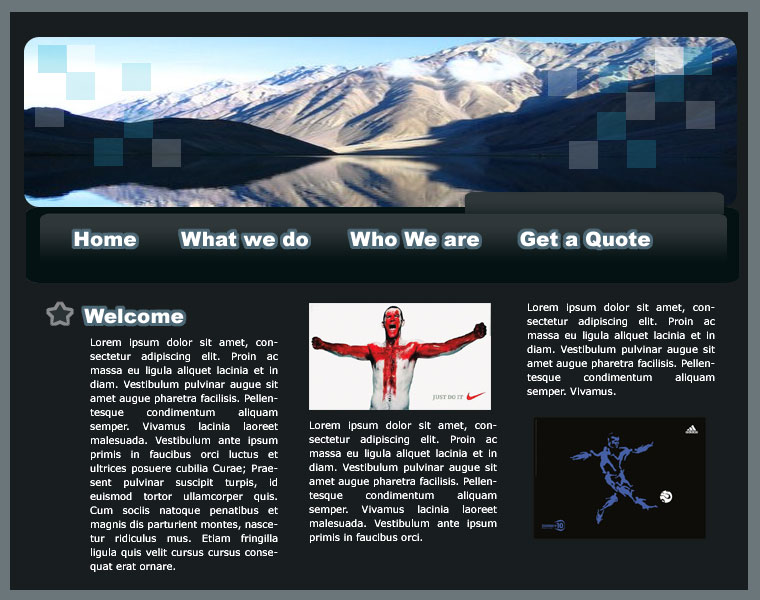
Step#19: You can use similar design throughout the website navigation. My final result looks somewhat like this:
|